
Pools and spas are so popular in our Aussie climate and if you’re lucky enough to have one, or if you’re about to have one installed, safety will, of course, be one of your first considerations.
Naturally, fencing is the best way to keep younger family members or visitors from accidental access to your pool. Laws around swimming pool fencing vary depending on where you live, so check your local council’s pool safety regulations to see what’s required.
Once you’ve decided you want (or need) to install a pool fence, it’s time to get started.
1. Let’s talk glass pool fencing
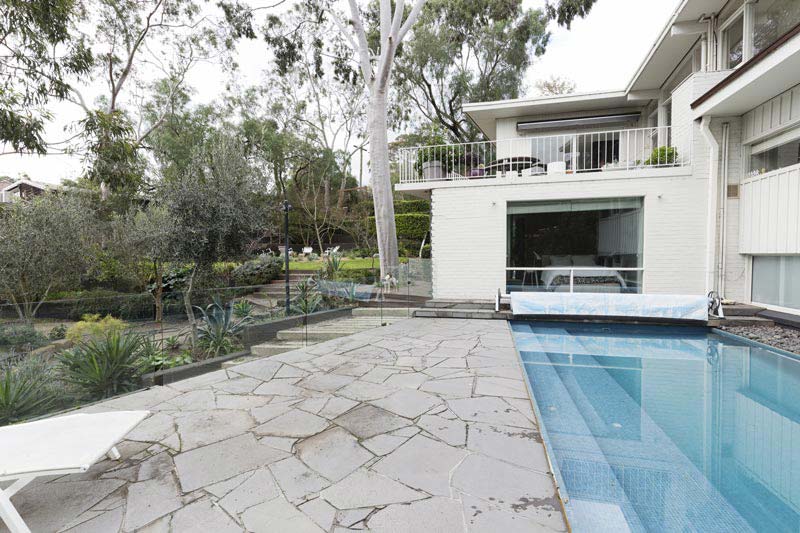
Glass pool fencing is increasingly sought after because it’s minimal, low-profile, and doesn’t compromise the style of your backyard. Glass fencing offers a versatility and timelessness that’s unmatched by other types of fencing design.
Frameless glass pool fencing is as unobtrusive as pool fencing comes. Like all fencing, it is engineered for safety; unlike other pool fences it has self-closing and self-latching mechanisms to help your peace of mind. Have you got landscaping, paving, or decking around your pool? No problem – glass pool fencing can be installed onto concrete, tile, wood, or directly into the ground. (Note: if you are setting up your fence on a dirt or grass surface, you will need a concrete footer in place first to securely hold and support your fencing components.)
If you’ve decided glass pool fencing is your next move and you’d like to install it yourself (since it’s rather easy to do), check out the handy guide we’ve put together to get you started with your project.
2. Measuring for size and fit
Glass fencing panels aren’t a one size fits all solution – they’re available in a variety of dimensions and can even be customised for your specific project.
To start, you’ll want to get an idea of the height and width of the glass panels that you want. Safety codes will have an influence on the size of fencing you need – your glass supplier can help you get clear on the sizes on offer.
3. Installation steps
Once you’ve got your glass panels and necessary supplies, it’s time to install your pool fence!
- First, stainless steel clamps will need to be fixed to the surface to hold the glass panels in place. If you’re likely to be working with concrete or tile, you will need a core or hammer drill to do this.
- Mark a chalk line at the centre of the fence and from there use a clamp base plate as a measure to mark the location of the mounting holes.
- Fix the two outermost clamps in place and then using string, make a tight line between these clamps. This will keep your glass panels from being misaligned.
- Install all the clamps in between, measuring an equal distance between each one. Ensure that the string runs through the centre of each of the clamp slots – note: making sure they’re positioned in a straight line is very important, as the clamps set the foundation for your whole fence.
- Fix the clamps in place with cement or grout and ensure they’re aligned vertically and at the right height. You can use a spirit level and wooden wedges to check that verticals are all lined up perfectly.
- Place dress rings over the mounting hardware to conceal it and enhance aesthetics.
- Now it’s time to place the glass panels into these clamp slots, but before this be sure to line each slot with a rubber spacer first to protect the glass.
- Slide glass panels carefully into the slots, being careful to slot between the steel and rubber spacer. When you’re certain the glass is not touching the metal, tighten each clamp using an Allen key.
- When your panels are in place, follow the door latch-kit’s instructions to attach the latch to the gate. Fasten the first part of the latch using an Allen key. Continue with placing the second part of the latch onto the glass panel and close the door to check that the first and second part are lined up and lock effectively. When you’ve checked it all works, use an Allen key to secure it in place.
- The most important tip to note is the safety and compliance of the installation. If you are looking to have the job done perfectly to a tee, get in touch with a professional glazier who has experience installing glass fencing. Getting an expert on the job will also ensure that if something isn’t right, a service warranty is in place to protect your investment.
4. Maintaining your glass fencing
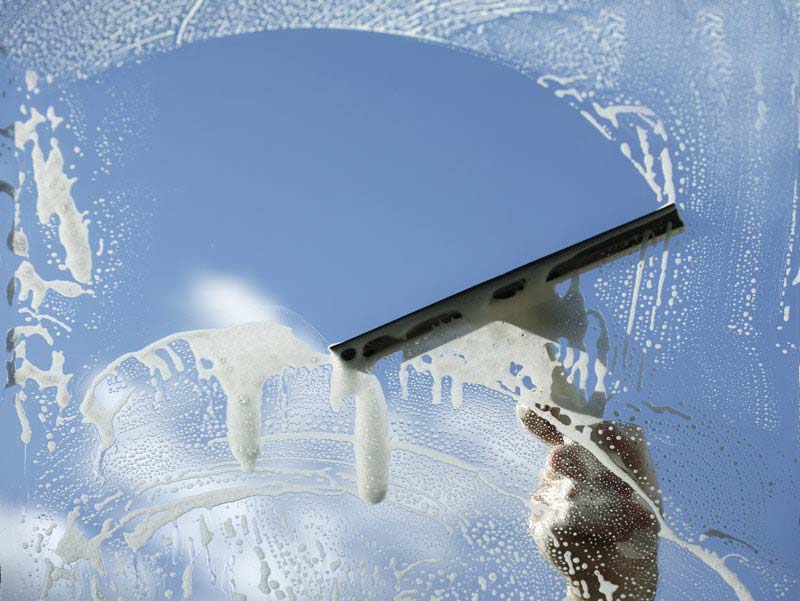
Glass pool fences are low maintenance and look great with minimal intervention. To keep your new glass fence in top shape use hot water and dishwashing detergent to clean glass panels, as opposed to standard glass cleaning spray which is more likely to leave evident streaks and residue behind.
When you’ve washed your glass fencing, simply hose down to remove excess soap and then squeegee each panel to get any water off before wiping down with a dry microfiber cloth.
To clean the fixtures and stainless-steel pieces, use a stainless-steel cleaning or care product to be sure these parts stay protected and to prevent rust.
If by chance you happened to have found yourself in a pickle with shattered or cracked glass panels, call the experts to get the job of replacing your glass panels.
Get in touch today for a free quote or to book your fence repair with Action Glass & Aluminium!